 ← Pickerty Resource Center
Eight short steps, about 5 minutes. Save each one before you move on.
From your dashboard, click Add a New Sale.
A checklist appears down the left side. You work top to bottom. A step turns green once it's saved.
The steps below are for an in-person sale — the most common kind, where shoppers come to the house. An online-only sale has six steps instead of eight; see Online-only sales.
Pickerty does not save your data automatically. Use Save and Continue to save and move on, or Save to save and stay put. If you leave a step without saving, what you typed may be lost.
While you're creating a sale, it is marked DRAFT. Nobody can see it and nobody can sign up. It only goes live when you click Publish on the last step.
You can safely stop after any saved step and come back to finish setting up the sale later.
First, what kind of sale this is: an In-Person Sale, where shoppers come to a location on set days, or an Online-Only Sale, where they browse from home and pick up what they buy later.
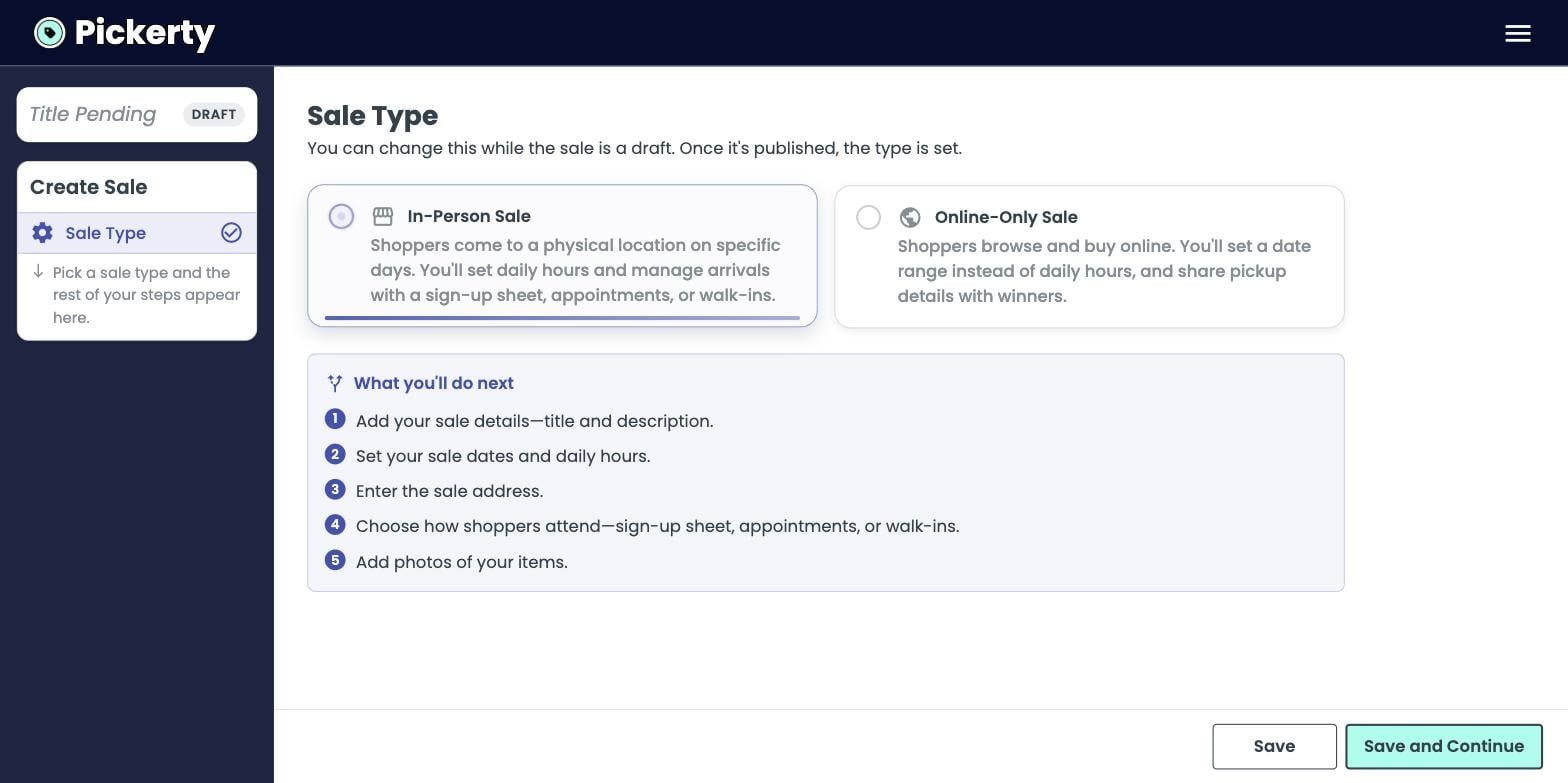
Most sales are in-person, and that's what the rest of this article covers. If you're running an online-only sale, read Online-only sales instead.
You can switch between the two freely while the sale is a DRAFT. Once you publish, the type is fixed — the step itself says so. If you get it wrong, you'd have to create the sale again from scratch, so it's worth a second look before you publish.
The title and the description.
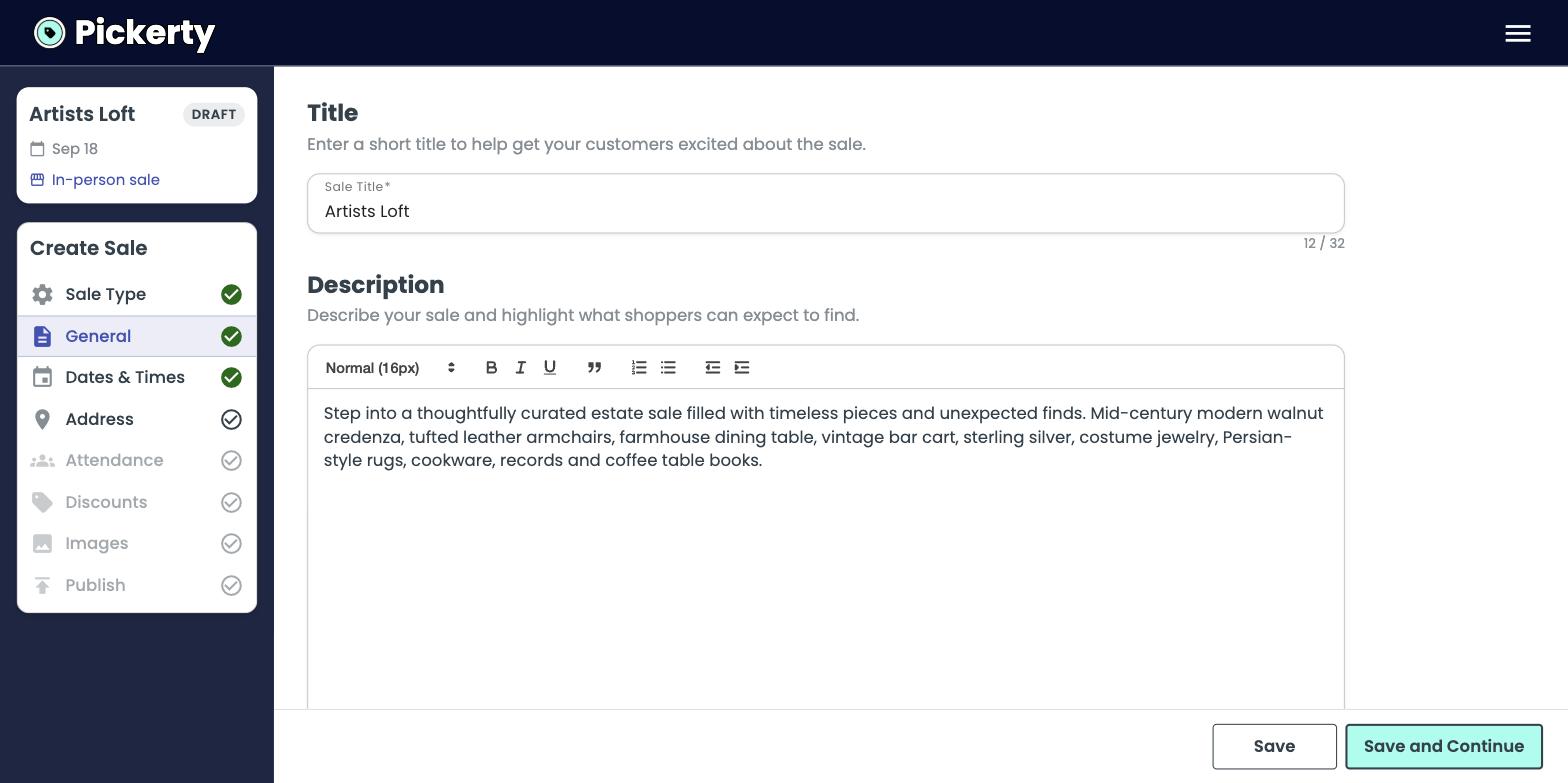
Pick the first day and set the hours. Then click Add Additional Day for each extra day. Pickerty fills in the next day for you, so a Friday–Saturday–Sunday sale takes three clicks. You can always edit the dates and times.
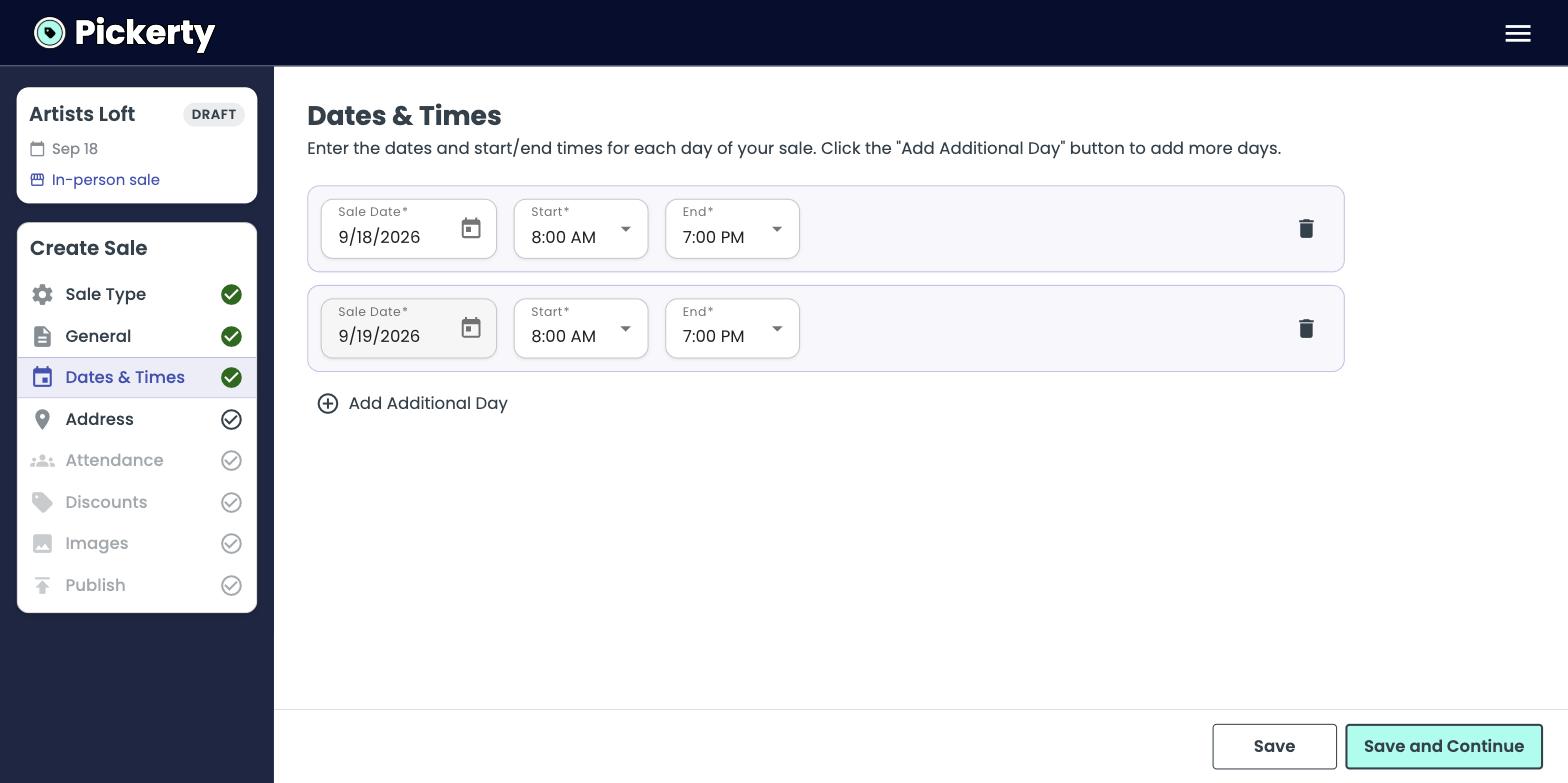
Start typing the address and pick it from the drop-down list that appears.
Underneath, Address visibility decides who ever sees the full address: Public, where it appears on the sale page at a date and time you set, or Private, where only people who sign up receive it. Neither is picked for you.
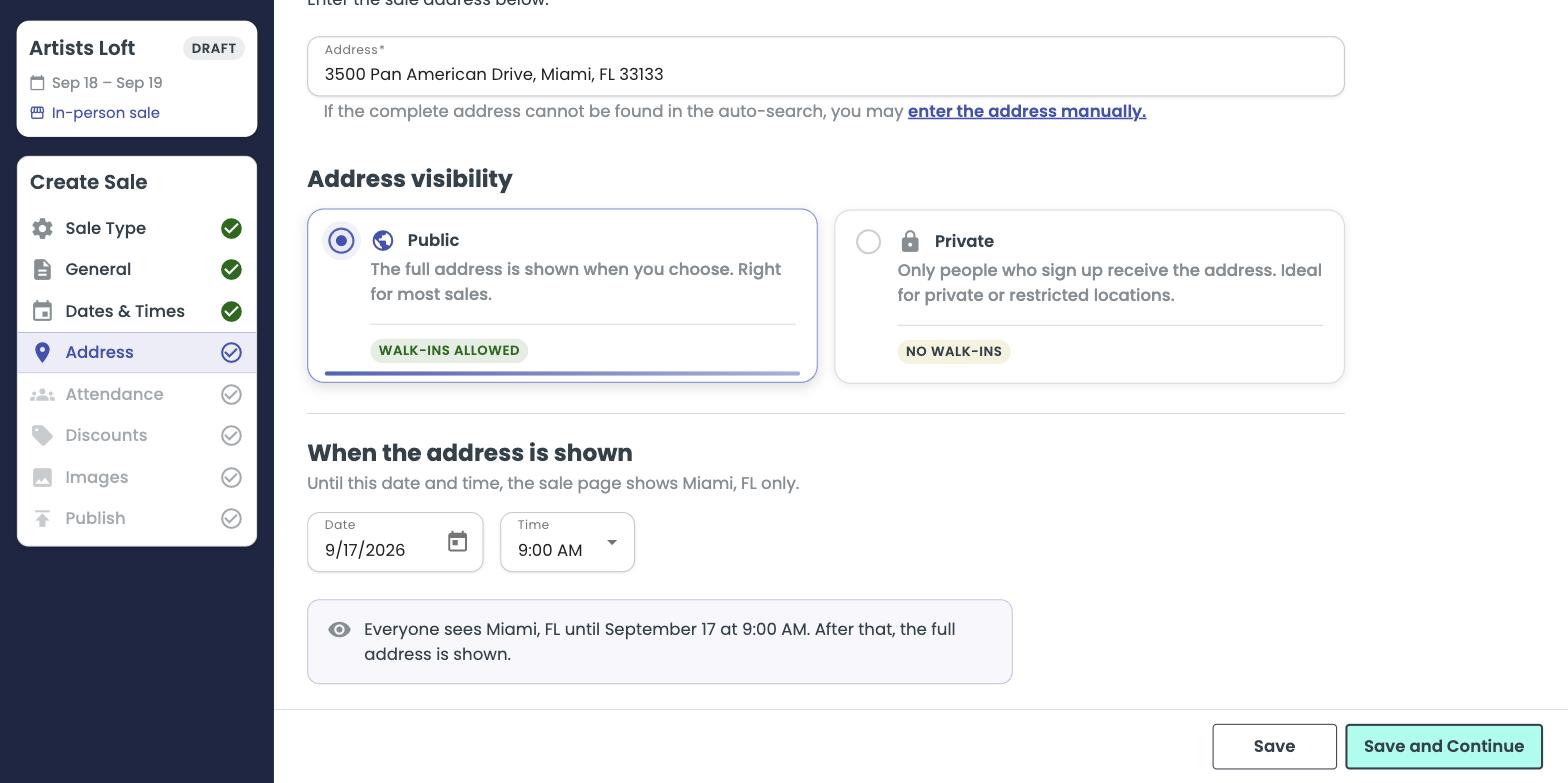
A private address carries a NO WALK-INS tag, and it means it — nobody can walk up to an address they were never given. Pick Public with a late release time if you want a quiet address and walk-ins both. More in Keeping your address private.
Tells customers how they can attend your sale: an online sign-up sheet, by making an appointment, or walk-ins only. Pick one, and the settings for it appear underneath.
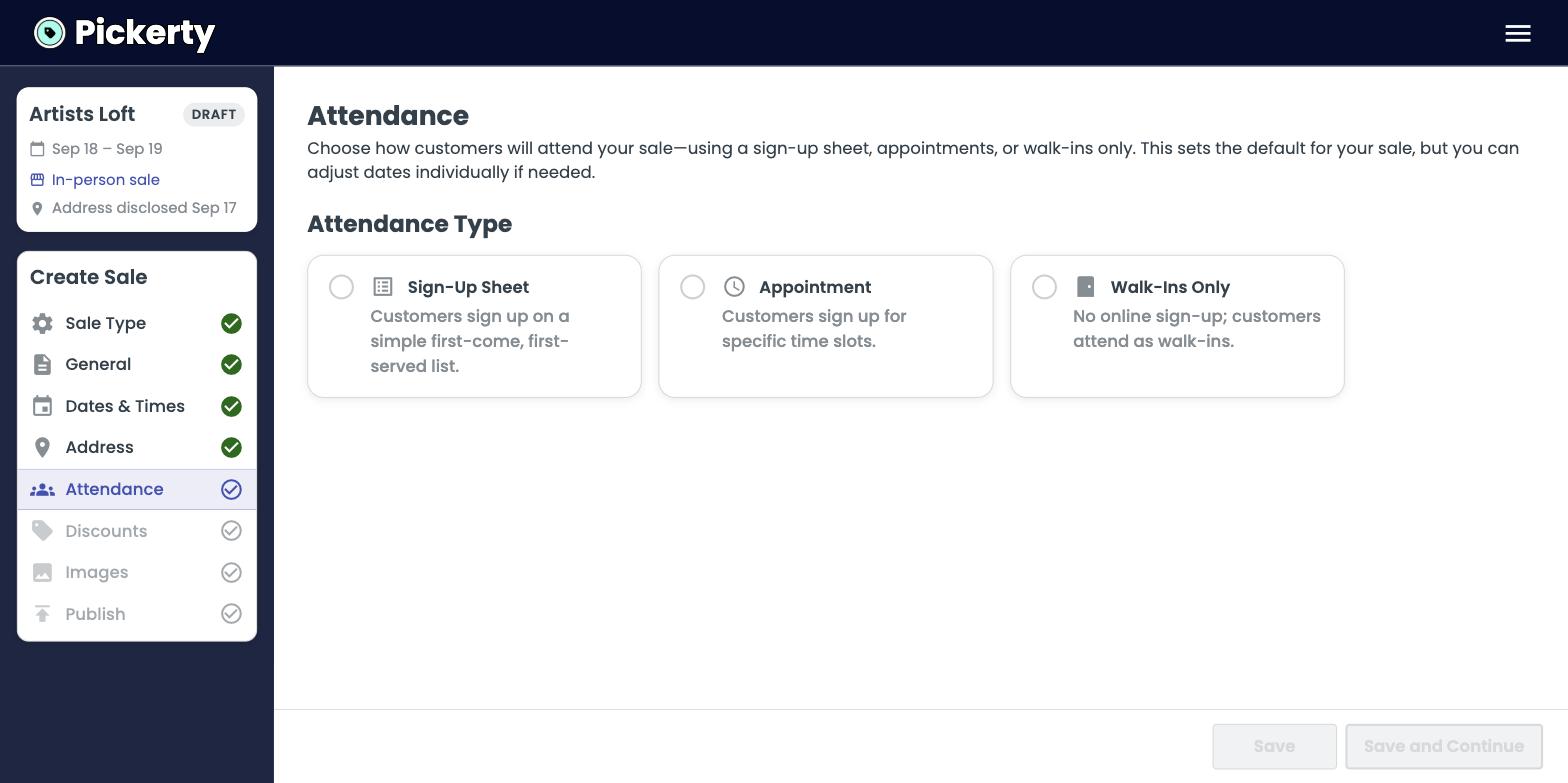
This is the biggest decision in the whole setup, so it has its own article: How people attend your sale.
Optional. Offer a discount off a customer's total purchase when they spend a certain amount. Leave every dropdown on No Discount if you don't want to offer any money off.
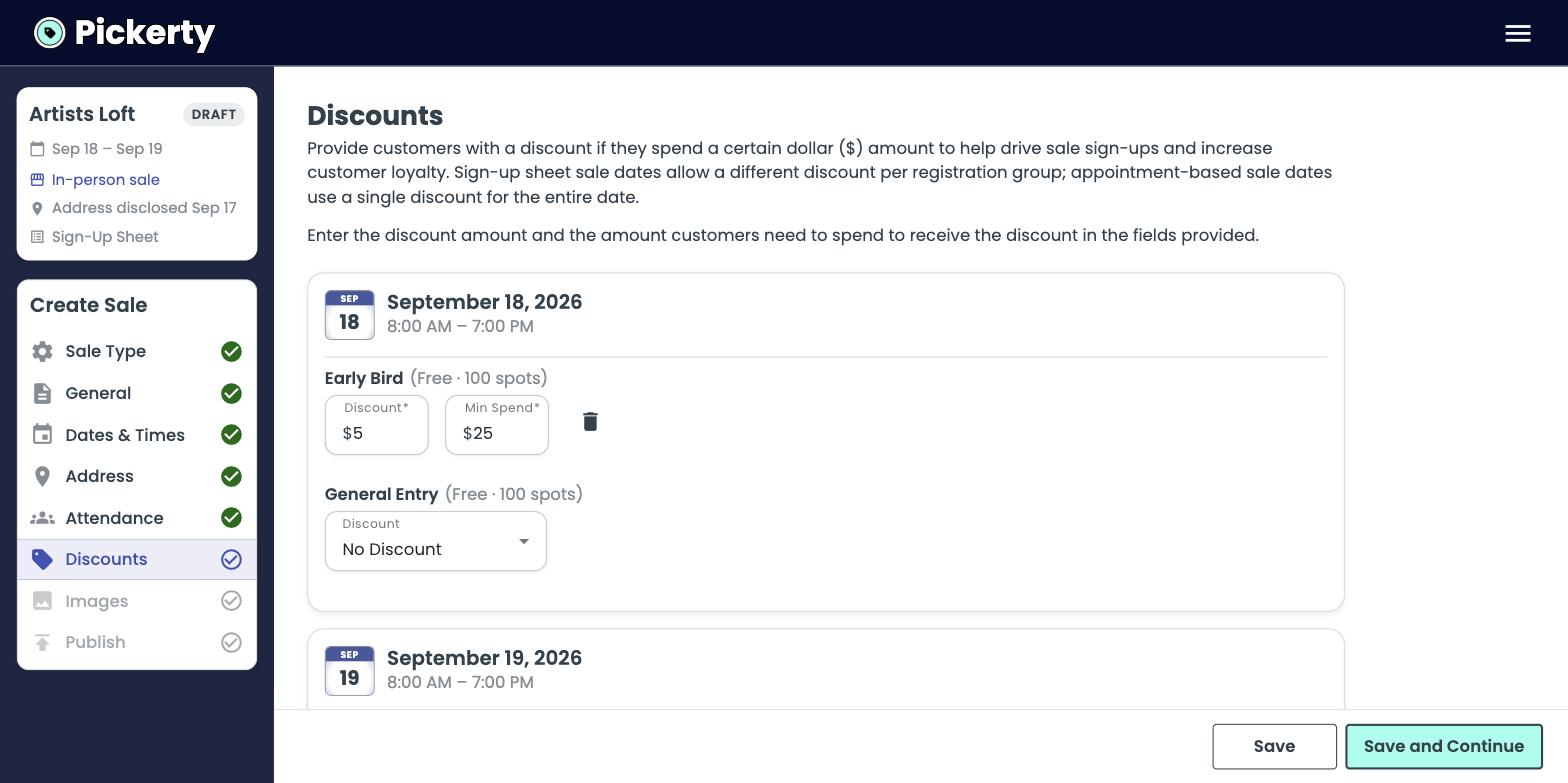
More in Discounts.
Drag your photos into the photo upload box, or click it to browse your computer/phone.
Photos are the exception to the rule above: they save on their own as soon as they finish uploading. You'll still see the same two buttons at the bottom — use Save and Continue to move on to Publish.
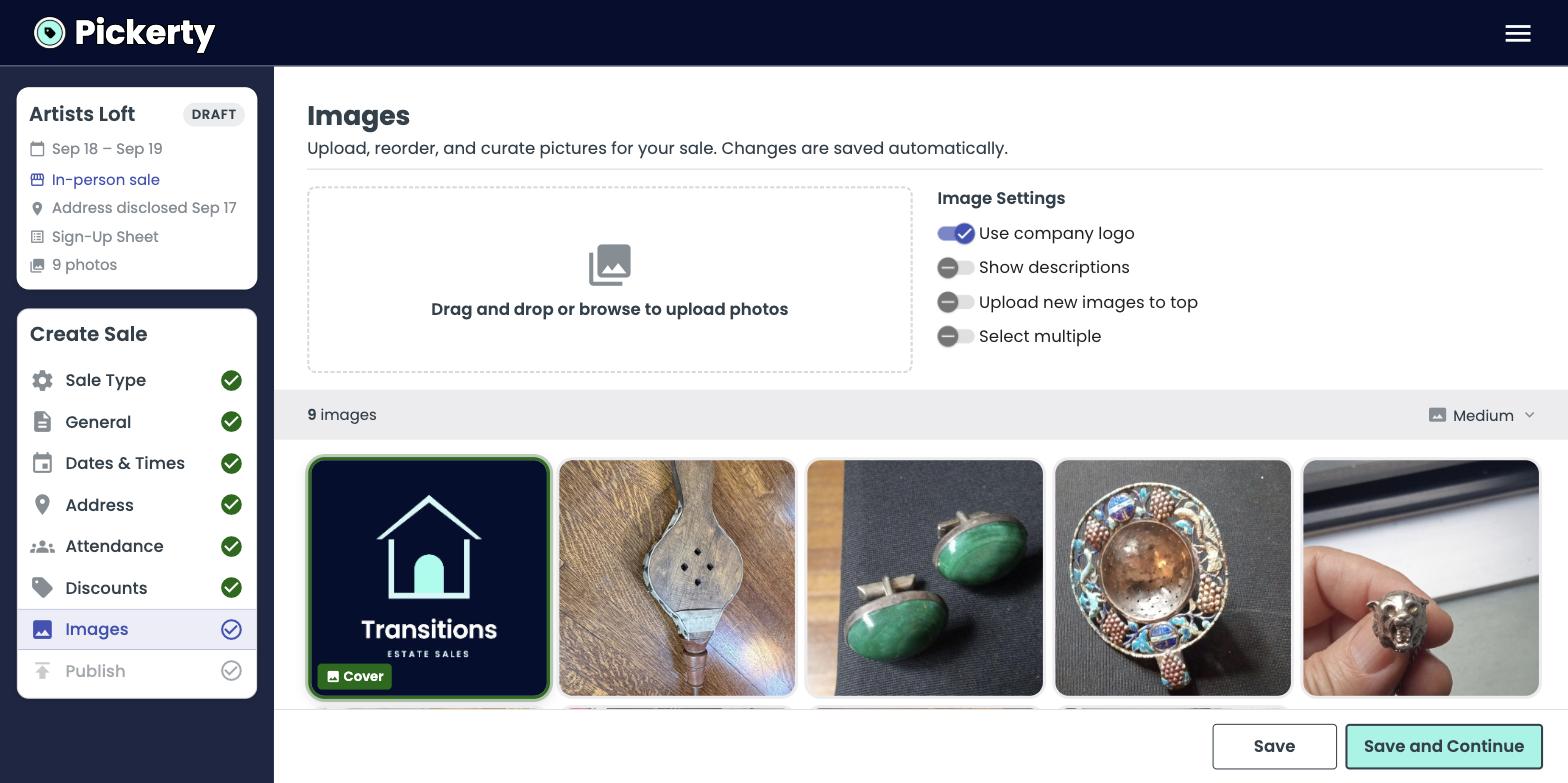
More in Photos that showcase your sale.
A summary of everything you entered, and the button that makes the sale live. Scan the card before you click Publish. It shows the whole sale at once, so anything that isn't right is easiest to spot here.
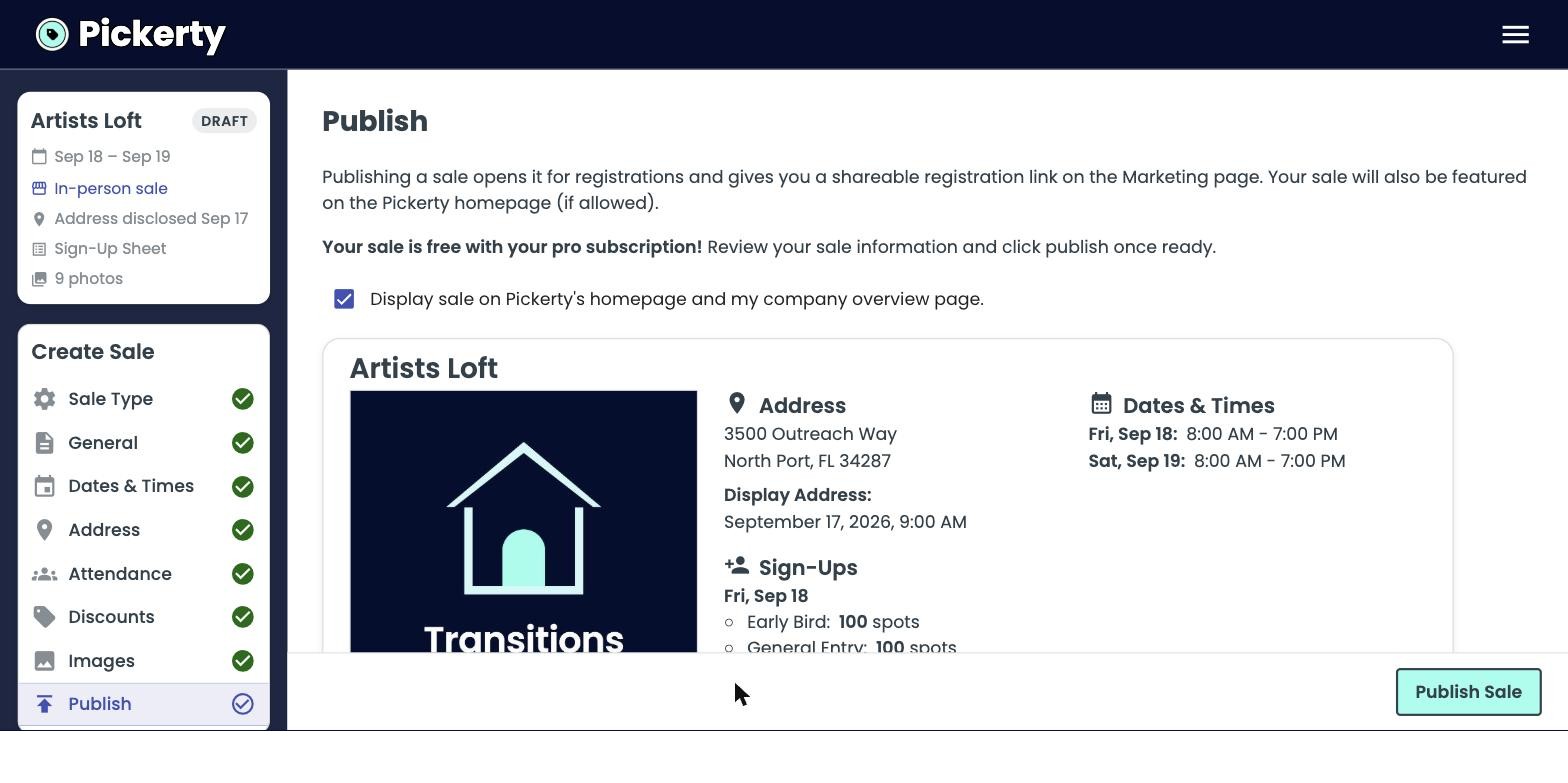
More in Publish your sale.
Even after a sale is published, you can always go back and edit any step. Look for Edit Sale in the left-hand menu.