 ← Pickerty Resource Center
A one-time set-up so any fees you charge for spots land in your own bank account.
You only need this if you charge for spots in line. Free sign-ups need no setup at all.
Pickerty never holds your money — if a customer pays to reserve a spot in line, that payment goes to your own Stripe account and on to your own bank. Stripe has to verify who you are before it can do that, which is a legal requirement rather than a Stripe or Pickerty one. This article walks through that verification process. You'll need about ten minutes and have your paperwork ready.
The Stripe screens below were captured using a test account, so they carry Stripe's "test account with test data" banner and the details in the fields are dummy values. But the screens and the fields you will need to complete are the real ones.
Whichever way you get there, set up occurs on Stripe's own pages, but you'll be taken back to Pickerty when you're done.
Everything on the Stripe screens goes straight to Stripe. Pickerty does not see or store your tax ID, your bank details, your date of birth, or any other data you provide here at any point.
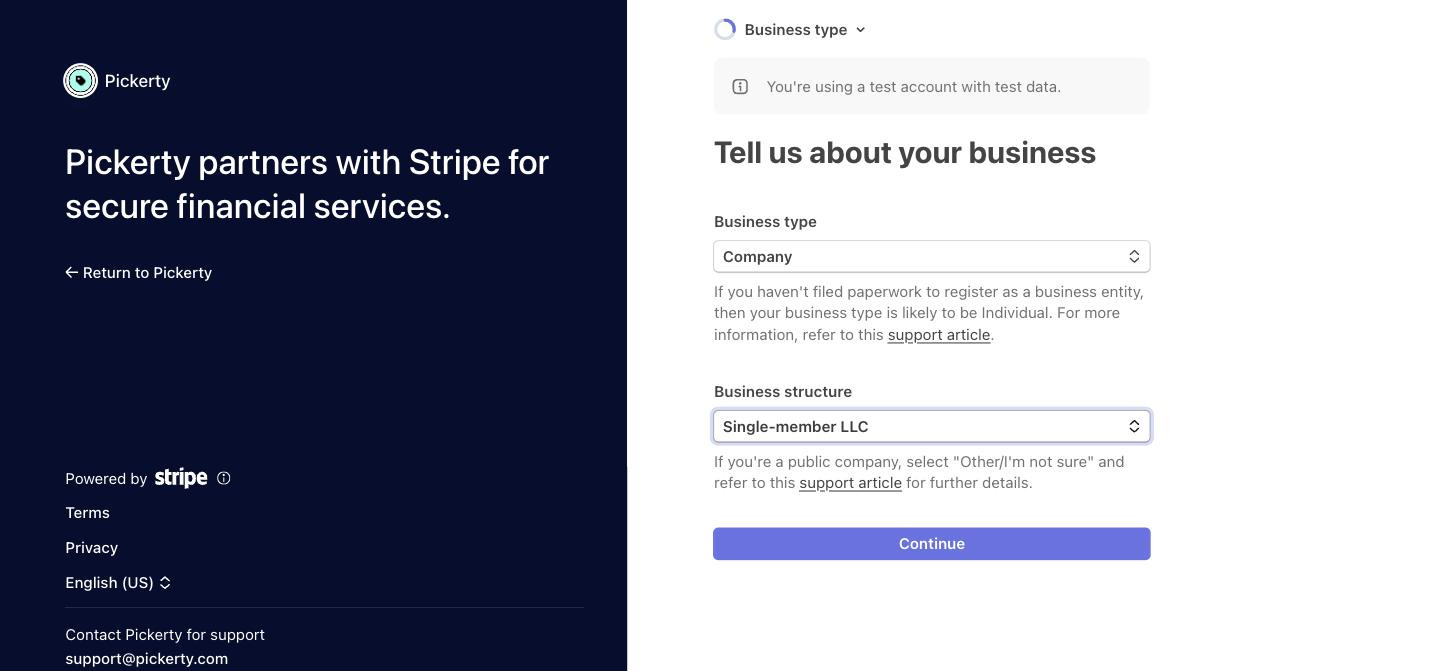
Everything Stripe asks for afterward depends on the structure you pick here, so the fields you see may differ slightly from the ones described below.
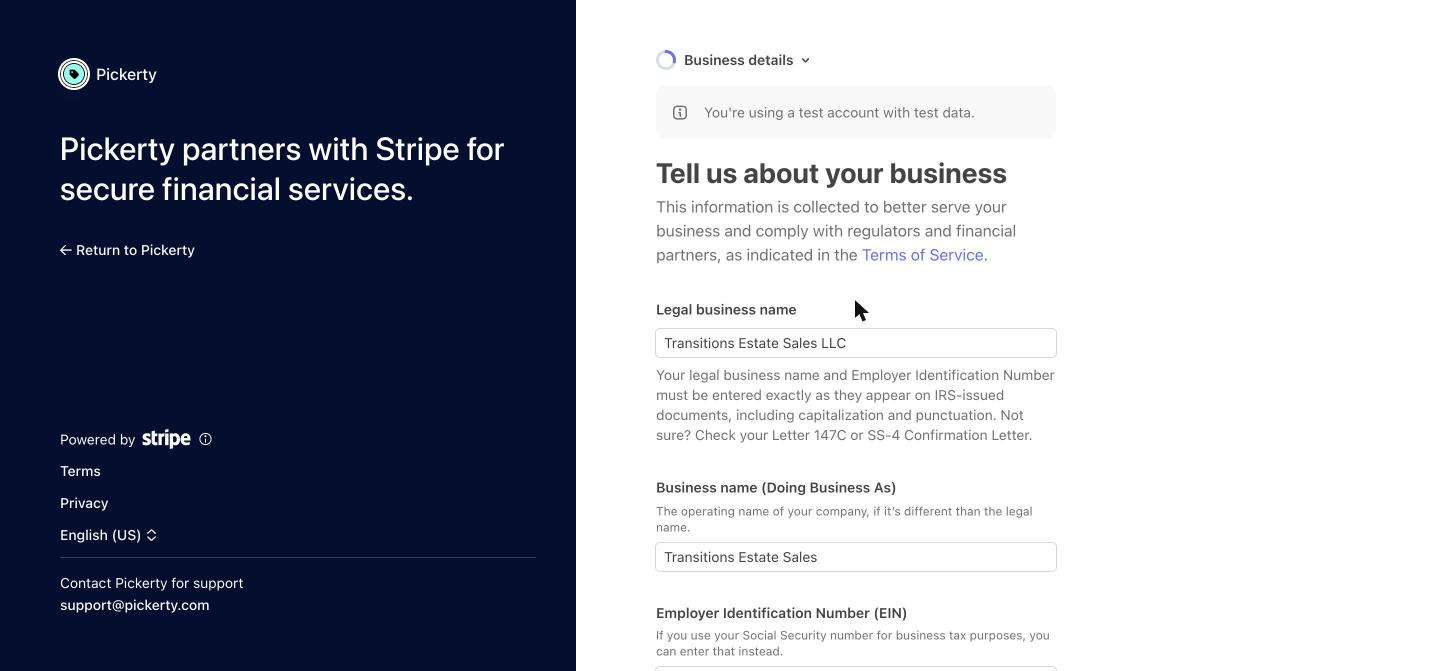
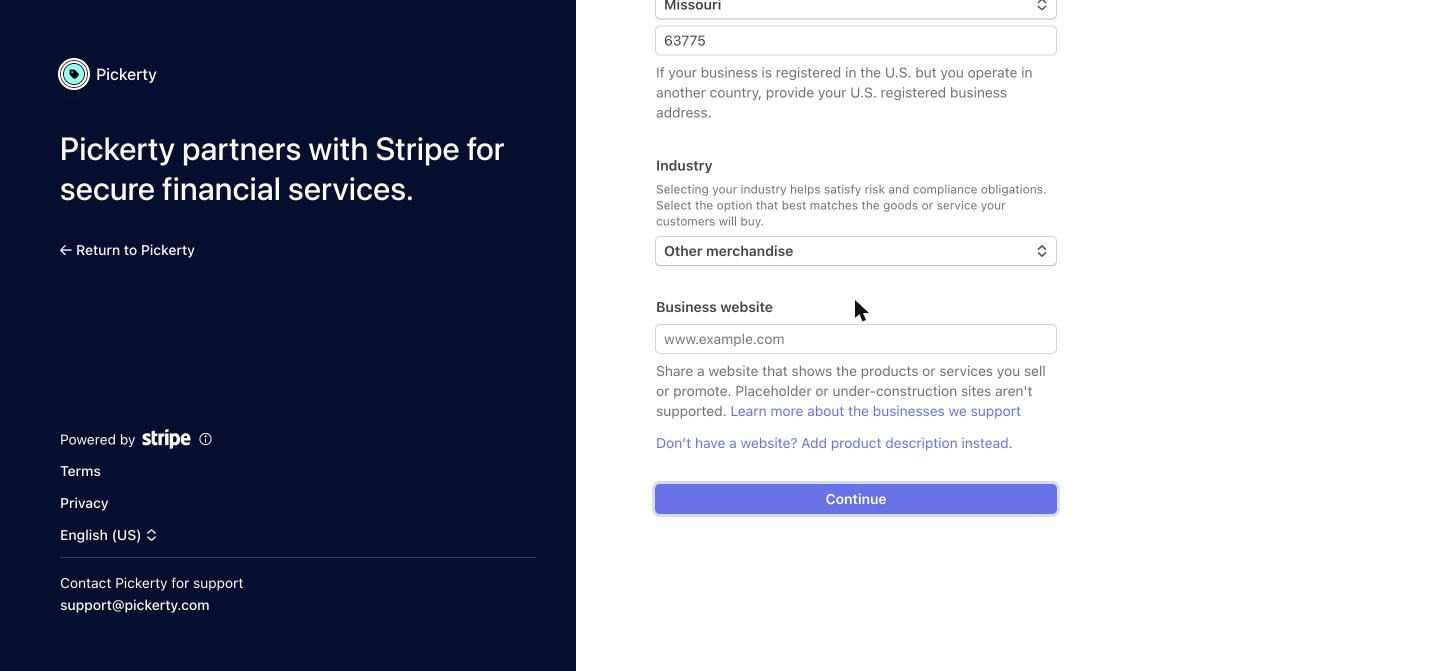
Some estate sale companies don't have a business website. If that's the case, click on the link underneath: "Don't have a website? Add product description instead." Describe what you sell in plain words. Stripe won't accept a placeholder or under-construction site, so the description is the better answer even if you have a domain parked somewhere.
Headed "Verify your personal details", this is the person Stripe holds responsible for the account: legal name, email, date of birth, home address, phone, and the last four digits of their Social Security number. If they have no SSN, there's a "Provide a government-issued ID number instead" link under that field.
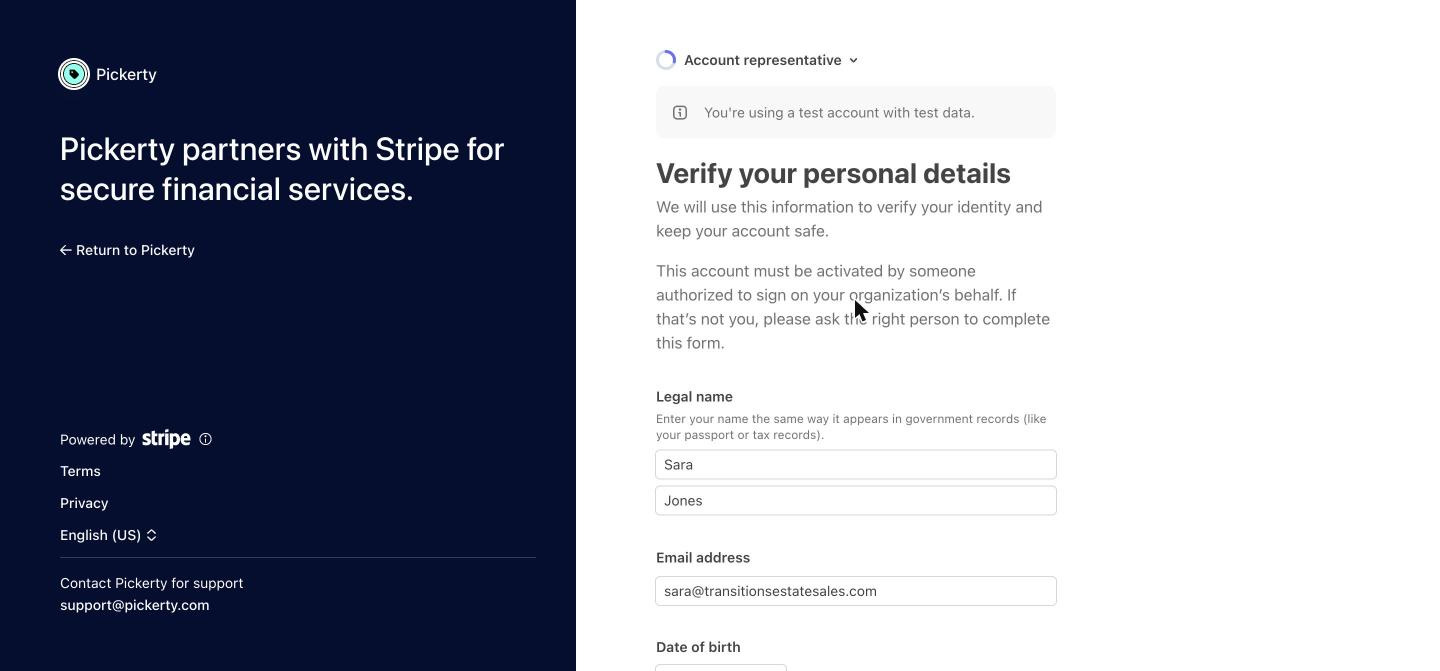
The account must be activated by someone authorized to sign on your organization's behalf. If you're a single-member LLC that's simply you. If there are partners, or if an office manager is doing the setup, the details here must be a person who can legally commit the company — not whoever happens to be at the computer.
Stripe provides secure connections to many common banks, such as Wells Fargo, Chase, U.S. Bank etc. Click on your bank's name to connect. You can also enter your routing and account information manually.
Your routing number and account numbers, entered twice. Checking and savings accounts both work.
This is the account your money lands in, so it should be the business account you actually reconcile — not a personal one you'll want to change later.
Review all the information you've entered to make sure it is correct. If you need to make any changes, click the Edit link in the block you want to update.
Once you have reviewed your information and ensured it is correct, click the Agree and submit button to link your bank account.
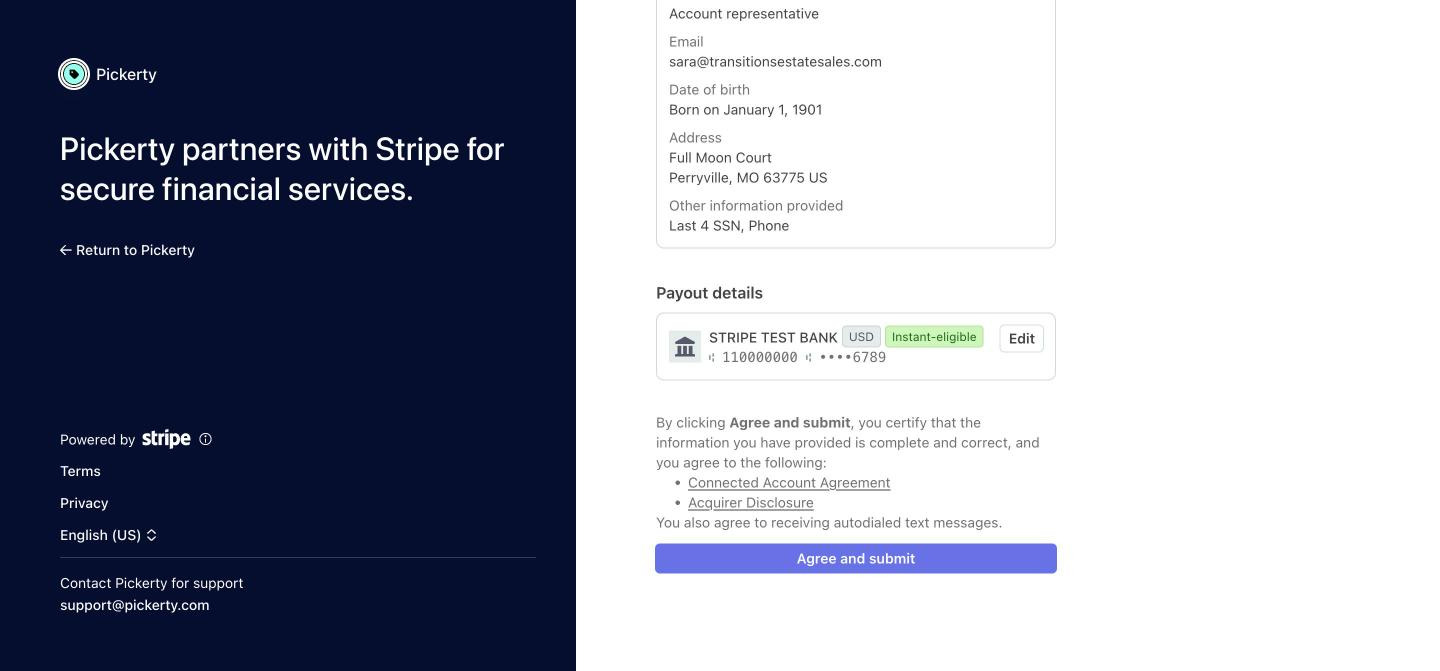
Once you've clicked Agree and submit, Stripe returns you to Pickerty, to the same place you left off, and confirms with Stripe Connect Complete — you can now charge sign-up fees and the money will be sent directly to your bank account.
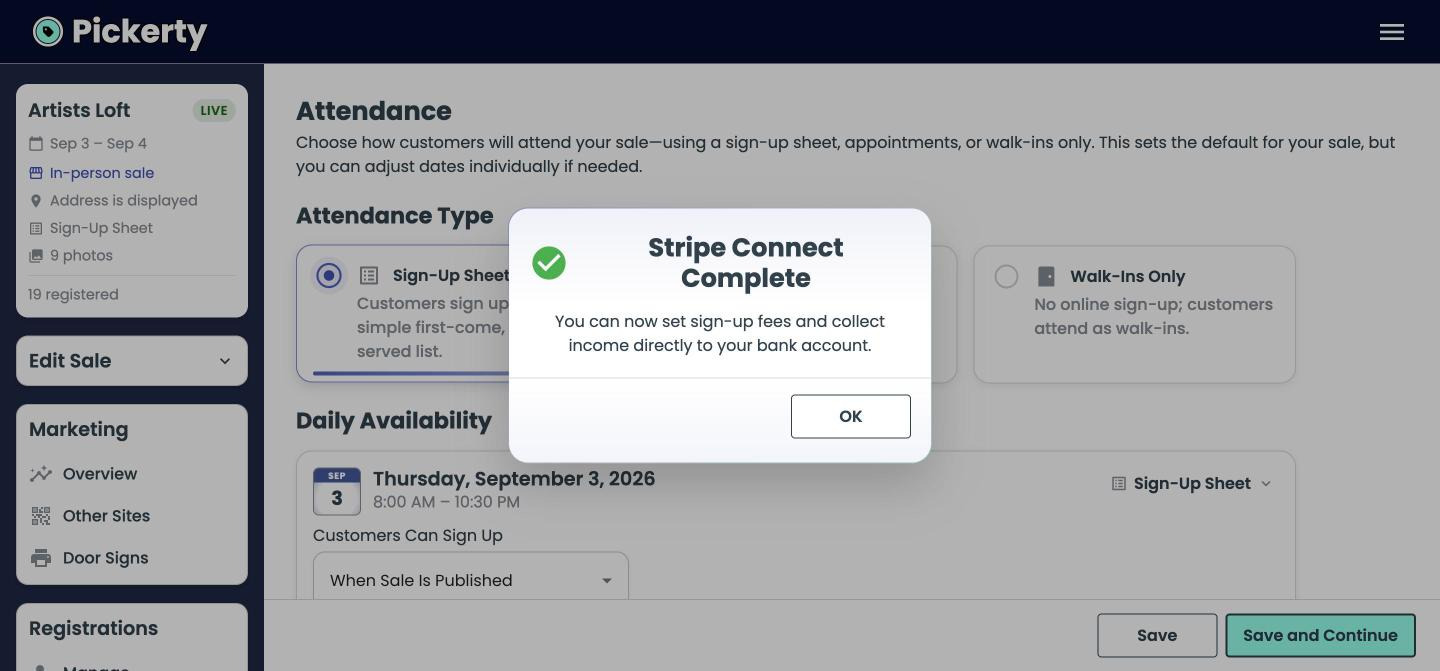
If you set up Stripe Connect from a sale you were creating, you'll be taken back to the Attendance step. You can now enter whatever price you want to charge so customers can reserve their spot in line.
Your first payout is the slowest — see Getting paid if you charge spot fees for how long it can take and fees.
To change your bank account, business details or anything else later, click Stripe Payment Dashboard under Direct Payouts and sign in to Stripe. Those details live with Stripe, not with Pickerty, so that's where you can edit them.
Stripe adjusts what it asks based on your business structure, and it can come back later for more if something doesn't verify. That's between you and Stripe, and they will tell you what they need. If you're stuck, email [email protected] — we're always happy to help.